15 November 2010

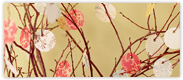
The crisp, cool air and the trees dropping their summer glory are reminding us that winter is quickly approaching. Surrounding us is the beauty of this season, and from Breezy‘s studio emerged an illustration capturing a sweet glimpse of Autumn.

Autumn joys are captured in this precious painting. Prints available here.

11 November 2010

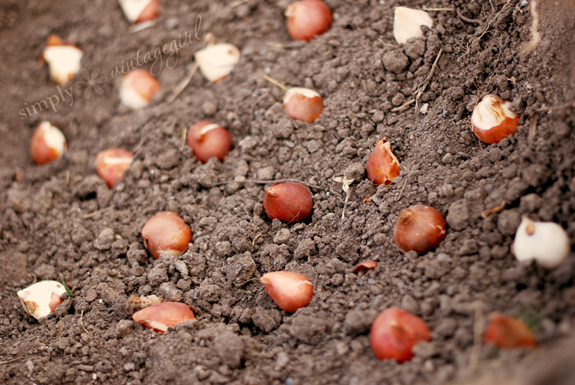
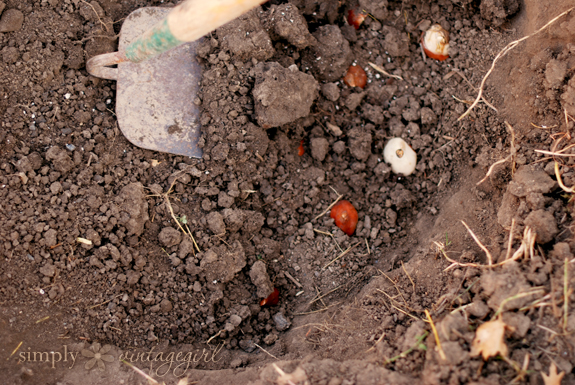
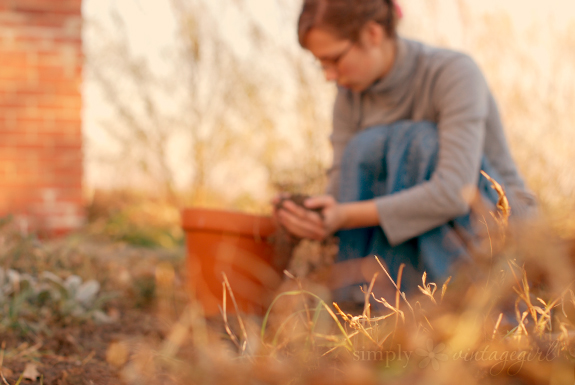
. . . tulips popping up from the soil, budding, and blooming – all to our great delight!
(Thank you, Breezy, for working to add extra beauty to the coming spring!)
15 September 2010
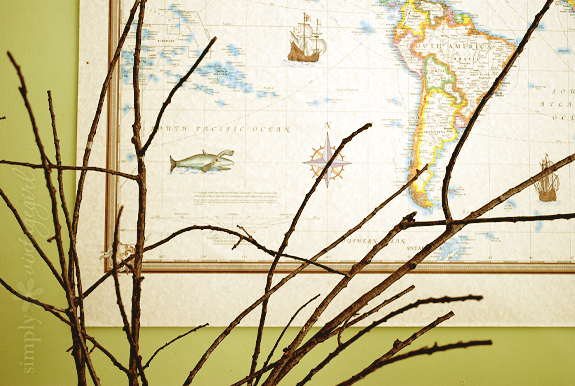
When the trees are trimmed in Autumn, make sure you save the sticks. They can be used for many different things that can be useful as well as add a touch of simple beauty to your home.
In the past I have made a flower-dryer out of sticks freshly trimmed from our pear trees. Another whimsical thing we have done with the trimmings was to make a bouquet of them.
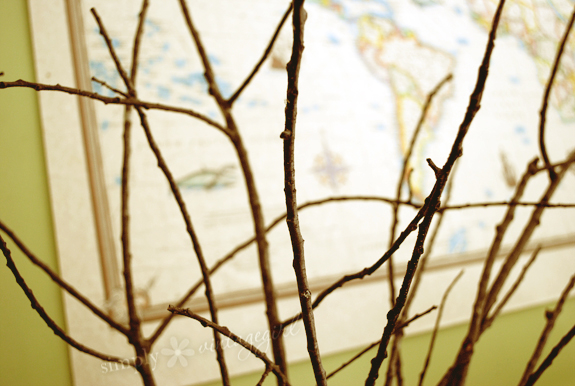
This year we plan to make a bouquet of sticks with a special purpose. From the twigs we will hang little notes of things we are thankful for. It will be called, “The Thankful Tree.”
(But first, we’ll need to trim the trees – which can be done during any month ending with an “r”.)
13 September 2010

The potato found in the shape of a heart.
Warm coffee and refreshing iced coffee.
Beautiful colors for the covers of our upcoming products.
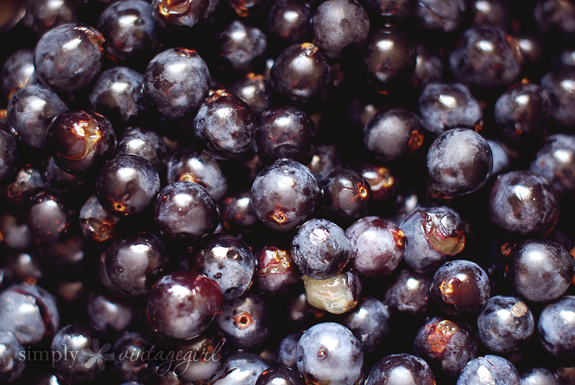
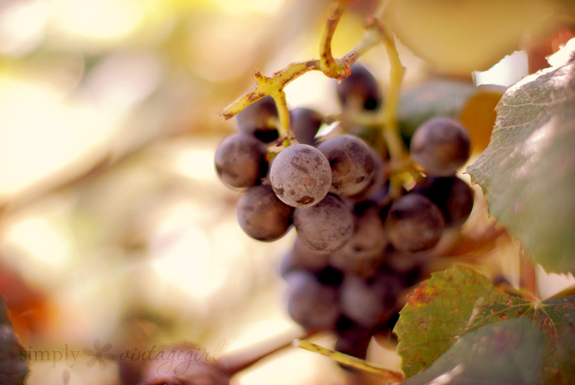
Boiling grapes to be turned into jelly.
A sleepy dog who can be very cuddly.
The recipe holder my dear mother made for me.

Lemon Scones made gluten-free. It was so nice to have scones again!
Fellowship with very precious friends.
A completed project sent to the printers . . . and a few more well on their way.
“This is the day that the LORD has made;
let us rejoice and be glad in it.”—Psalm 118:24
4 September 2010
“He changes a wilderness into a pool of water
And a dry land into springs of water;
And there He makes the hungry to dwell,
So that they may establish an inhabited city,
And sow fields and plant vineyards,
And gather a fruitful harvest.
Also He blesses them and they multiply greatly,
And He does not let their cattle decrease. ”“Who is wise? Let him give heed to these things,
And consider the lovingkindnesses of the LORD.”—Psalm 107:35-38, 43
28 August 2010
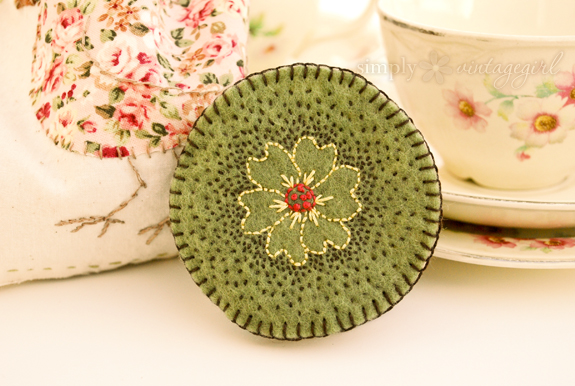
Needlebooks come in quite handy for keeping track of your pins and needles (and make a charming addition to any sewing basket).
I’ve created several of these lovely and portable cases to use while working on large sewing projects, associating each unique design with pleasant memories. Making needlebooks is a wonderful way to practice embroidery . . . and they make lovely gifts, too!
Here is how you can make your own {primrose style} needlebook . . .
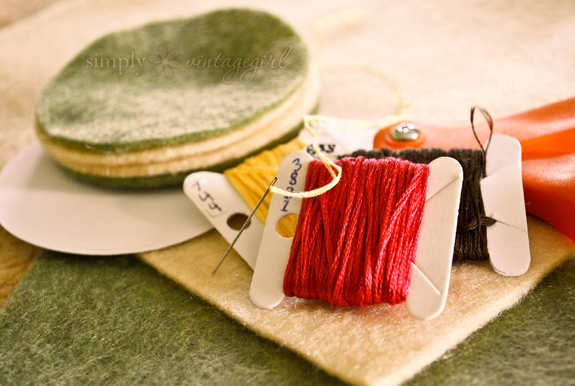
The Supplies
- Felt (wool or cotton)
- Embroidery Floss
- Needle
- Scissors
- Circle pattern from card stock (three inches in diameter)
The Directions (click the pictures to enlarge)
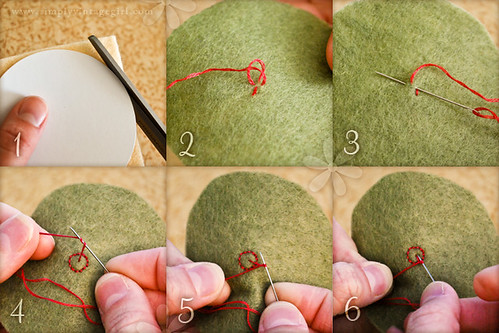
1. Following your pattern, cut out four pieces of felt (two for the outside cover and two for the inside).
2. On the back of the front cover piece, make a knot in the felt.
3. Bring the needle to the front and by Back Stitching, sew a circle in the middle of the cover. This will be the center of the Primrose.
4. Fill the center of the flower with Double French Knots (as shown in directions 4-6). Pull your thread through the font and wrap the thread around the needle twice.
5. Hold tightly onto the thread about an inch from the stitch.
6. Insert needle into the felt, making sure that it is right next to the original stitch. If it goes back into the same hole that it came up from, the stitch will pull through to the back and need to be redone. Pull thread all the way through until a little knot appears.
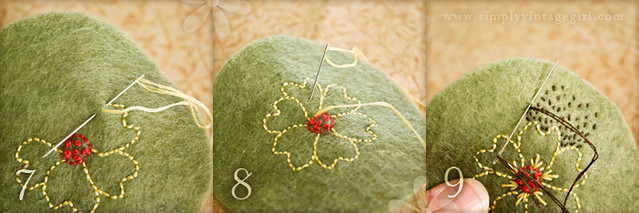
7. Back Stitch the outline of the flower petals.
8. With the straight stitch, add three little lines at the base of each petal to give it depth.
9. The Seed Stitches are small straight stitches randomly sewn every which way. Sew these around the outside of the flower close together and gradually farther apart as you stitch away from the petals.
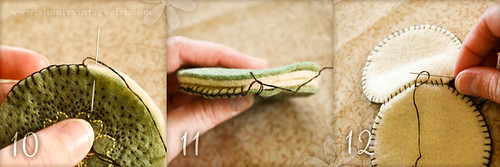
10. Blanket Stitch around the edge of the front and inside two pieces, leaving about one and a half inches of the circumference un-stitched.
11. Place the other two pieces on the back side of the first two with the second inside piece facing the already sewn inside and the back outside piece facing outwards.
Continue the blanket stitch on all four pieces for the un-sewn inch and a half. Then finish sewing the blanket stitch around the edge of the back side two pieces.
12. Run the thread through the felt where it cannot be seen from the inside or outside. Bring the thread to the surface of the outside and double knot.


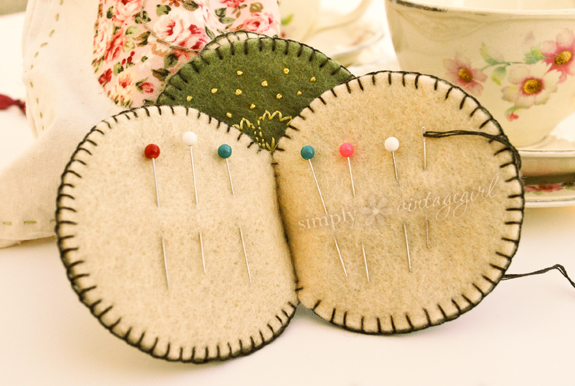
One of the beauties of needlebooks, is that you can take this idea and create a wide assortment of your own variations, whether they be for personal use, decoration, or gifts!
There are endless possibilities to the extra beauty you can create using different styles, sizes, shapes, embroidered decorations, etc!
This tutorial was originally created for the beautiful magazine “The Girlhood Home Companion,” a magazine for daughters, mothers, and grandmothers published by Remembrance Press.
23 August 2010
*Thank you all for entering! You can find out who won here.*
. . . well, I can’t tell you that part yet – because it’s still a secret.
But, the winner of this give-away will be one of the first to receive their own copy of our upcoming project (which, Lord willing, will be available next month)!
This giveaway will include more than that special item, and is in honor of our summer sale – the lowest prices of the season (and the year, for that matter)!
The Prizes:
- Daughters of His Story Paper Dolls: Bundle One (3 Collections)
 by Breezy & Emily Rose Brookshire
Each Collection Includes:
– Two 8″ (9″ including stands) Paper Dolls
– Two Short Biographical Sketches
– Three Dresses Each
– Two Timeline Figures
– A Pocket (to attach to the inside of the keepsake folder)
- A copy of our upcoming project
Includes: Well, I can’t tell you that yet, either. But, the winner will be one of the first to receive a copy!
How to Enter:
- Leave a comment on this post

- For extra entries:
– Facebook a link to this giveaway
– Tweet a link to this giveaway
– Blog about this giveaway
– Email the link to this giveaway
– Add the button at right to your blog or website’s sidebar
(Make sure you leave a separate comment for each thing you do, otherwise they won’t all count as extra entries!)
This giveaway will end this Friday, August 27th, at noon EST. Winner will than be selected and announced here at Simply Vintagegirl.
P.S. There’s going to be a new craft tutorial up this week! You might want to subscribe to make sure you don’t miss it!
21 August 2010
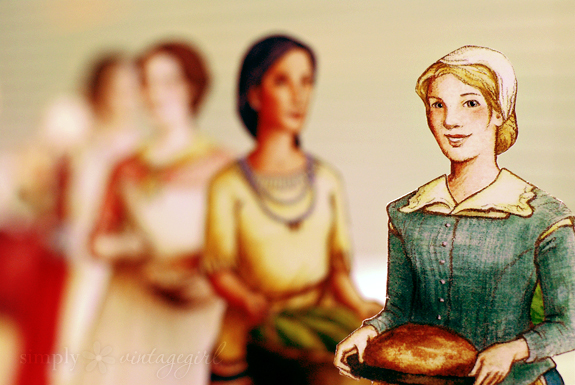
I am blessed.
I’m surrounded by my wonderfully loving family. I’m surrounded by beautiful artwork by my dear sister (as above). I’m surrounded by projects that have a purpose. I’m surrounded by things that bring back memories. I’m surrounded by things I don’t deserve.
I’m surrounded by the love of my Savior.
16 August 2010

When we said goodbye to gluten, we thought we said goodbye to graham crackers, too.
But it seems as though the latter goodbye was short-lived.
After receiving a link from a sweet friend for gluten-free graham crackers, we thought we would give them a try. It couldn’t hurt, right? We don’t regret trying the recipe one bit.
They’re even far better than the packaged, store-bought graham crackers!
And now that you’re wanting to try them for yourself, you might want to click here to print out the recipe and head on into the kitchen to tie your apron on!
One of our projects will be revealed in the not-so-distant future . . . but in the meantime, we’ll have to keep it “under wraps.” (You may find a clue or two now and then.)
Keep updated so that you don’t miss any of those clues!