4 October 2010

The Family Treasure Coloring Book
Created by Breezy & Emily Rose Brookshire | Published by Noble Rose Press
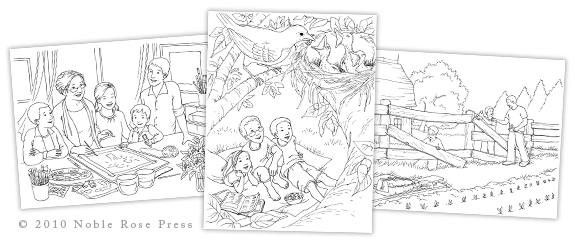
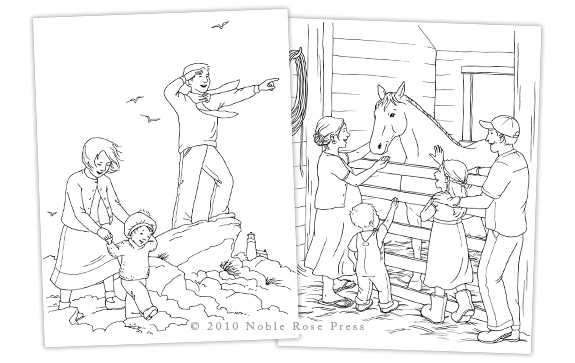
This 48-page coloring book features events in the life of the Christian family. From a father teaching his sons how to mend a fence, to a family picking apples in the orchard, to a mother reading aloud to her children, “The Family Treasure” will inspire children and their families in the lost arts of play, dominion work, and family discipleship.

A project that has been in production for several months, The Family Treasure Coloring Book is finally ready to make its way to your home!
You can order today at Noble Rose Press (there’s a special introductory price)!
(Stay updated with Noble Rose Press by following us on Facebook and Twitter!)

1 October 2010
Keep your eyes peeled for the announcement coming Monday!
(Subscribe here, so you don’t miss it!)

17 September 2010
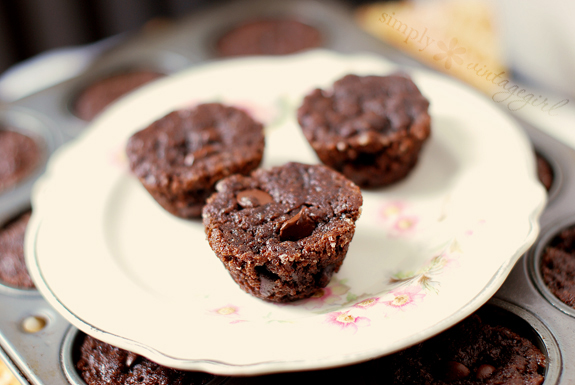
These perfectly delicious brownie bites should fill that empty chocolate spot! (Not only are they just the right size for a little treat – they’re also gluten-free, which is splendid!)
“Brownie Bites”
OVEN: 325° F | BAKE: 10 minutes | YIELD: 40-44 Mini-Muffins | NOTE: Gluten-Free
Dry Ingredients:
1/2 cup brown rice flour
1/2 cup sorghum
1/4 cup potato starch
2 Tb. tapioca starch
1/2 cup cocoa powder
1 cup evaporated cane juice or sugar
2 tsp. baking powder
1/4 tsp. baking soda
1/4 tsp. xanthan gum
1/2 tsp. salt
1 cup chocolate chips
Wet Ingredients:
1/2 cup canola oil
1/2 cup applesauce
2 Tb. vanilla extract
1/2 cup hot coffee
In a bowl, mix the dry ingredients, excluding the chocolate chips. Add the wet ingredients and mix well. Stir in the chocolate chips.
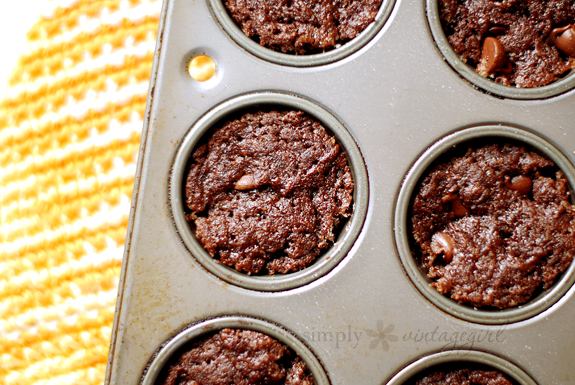
Drop batter in lightly greased mini-muffin pans with small scoop. Bake for 10 minutes at 325° F. Let brownies stand in muffin pans for several minutes to set up. After setting, tumble the brownies out onto a cooling rack.
These freeze fabulously! (You could easily make a double or triple batch, freeze lots, and have ready-to-eat chocolaty brownie bites.)
Fact: You can stir the batter as much as you would like to! This is because there is not any gluten, which, when over-stirred, could stiffen the batter and make the brownies tough!
Make sure you don’t miss a post by subscribing here!
15 September 2010
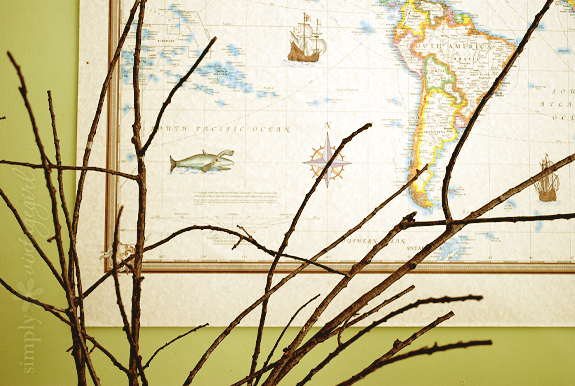
When the trees are trimmed in Autumn, make sure you save the sticks. They can be used for many different things that can be useful as well as add a touch of simple beauty to your home.
In the past I have made a flower-dryer out of sticks freshly trimmed from our pear trees. Another whimsical thing we have done with the trimmings was to make a bouquet of them.
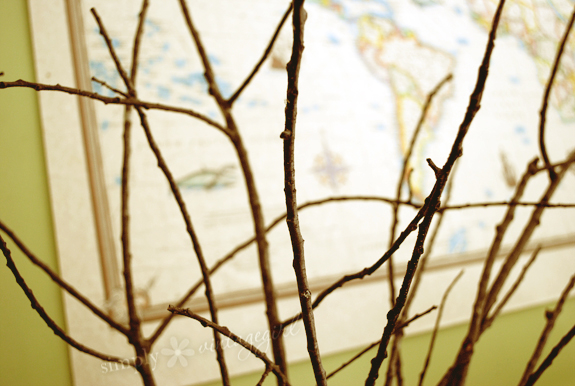
This year we plan to make a bouquet of sticks with a special purpose. From the twigs we will hang little notes of things we are thankful for. It will be called, “The Thankful Tree.”
(But first, we’ll need to trim the trees – which can be done during any month ending with an “r”.)
13 September 2010
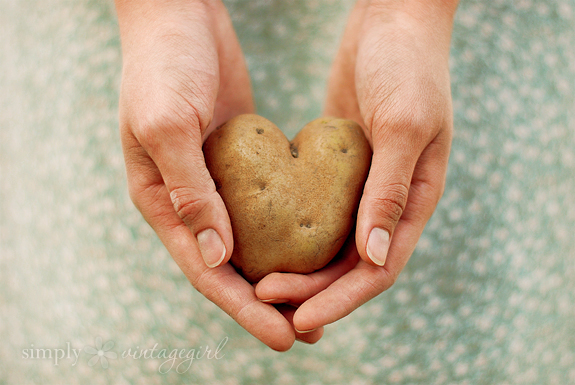
The potato found in the shape of a heart.
Warm coffee and refreshing iced coffee.
Beautiful colors for the covers of our upcoming products.
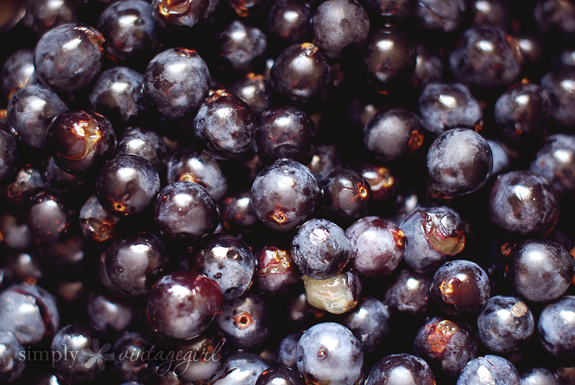
Boiling grapes to be turned into jelly.
A sleepy dog who can be very cuddly.
The recipe holder my dear mother made for me.

Lemon Scones made gluten-free. It was so nice to have scones again!
Fellowship with very precious friends.
A completed project sent to the printers . . . and a few more well on their way.
“This is the day that the LORD has made;
let us rejoice and be glad in it.”—Psalm 118:24
4 September 2010
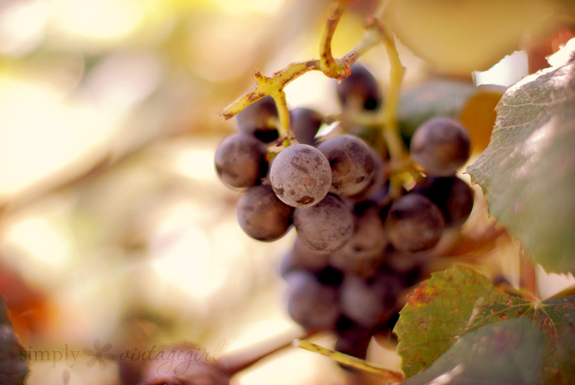
“He changes a wilderness into a pool of water
And a dry land into springs of water;
And there He makes the hungry to dwell,
So that they may establish an inhabited city,
And sow fields and plant vineyards,
And gather a fruitful harvest.
Also He blesses them and they multiply greatly,
And He does not let their cattle decrease. ”“Who is wise? Let him give heed to these things,
And consider the lovingkindnesses of the LORD.”—Psalm 107:35-38, 43
30 August 2010

Patiently waiting for the completion of a photo shoot, Bently stood a few feet away watching the scenery and taking in the smells of the great outdoors.
After the photo shoot was finished, he realized what was actually on the plate being photographed . . . and he also realized that the contents were edible . . . and rather scrumptious looking.
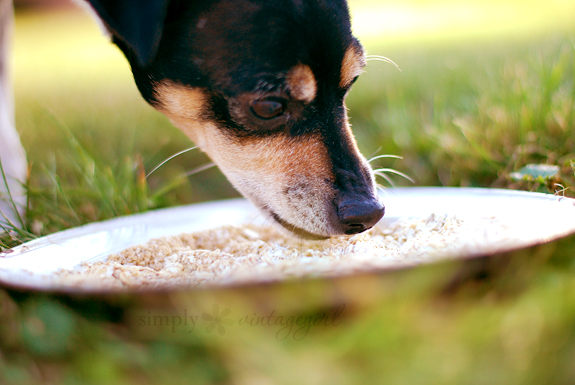
For his endurance and patience while waiting, he got his reward.
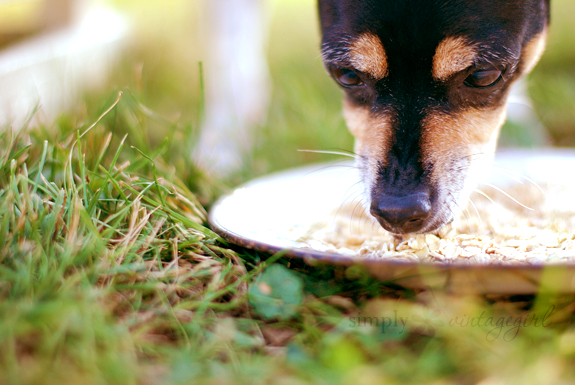
P.S. No worries, he ate just a few small bites.
28 August 2010
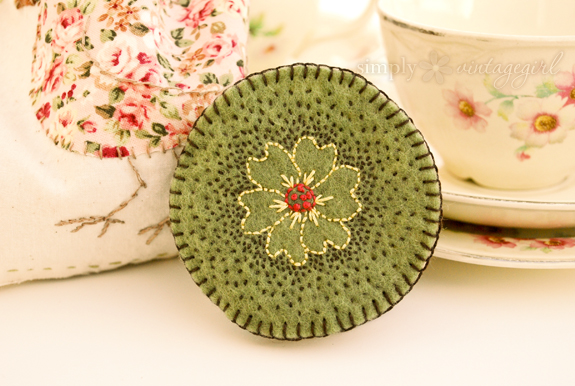
Needlebooks come in quite handy for keeping track of your pins and needles (and make a charming addition to any sewing basket).
I’ve created several of these lovely and portable cases to use while working on large sewing projects, associating each unique design with pleasant memories. Making needlebooks is a wonderful way to practice embroidery . . . and they make lovely gifts, too!
Here is how you can make your own {primrose style} needlebook . . .
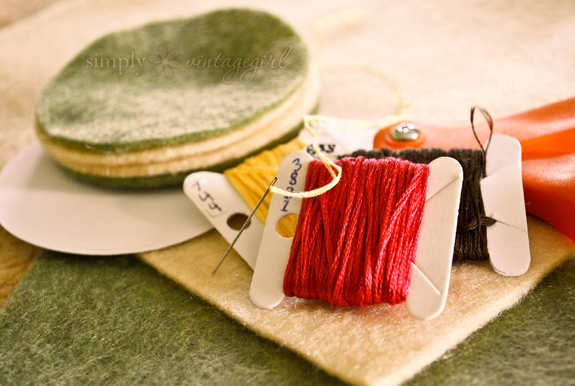
The Supplies
- Felt (wool or cotton)
- Embroidery Floss
- Needle
- Scissors
- Circle pattern from card stock (three inches in diameter)
The Directions (click the pictures to enlarge)
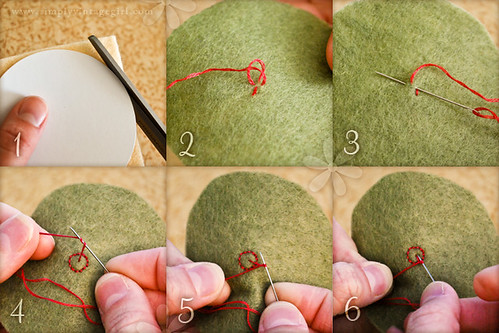
1. Following your pattern, cut out four pieces of felt (two for the outside cover and two for the inside).
2. On the back of the front cover piece, make a knot in the felt.
3. Bring the needle to the front and by Back Stitching, sew a circle in the middle of the cover. This will be the center of the Primrose.
4. Fill the center of the flower with Double French Knots (as shown in directions 4-6). Pull your thread through the font and wrap the thread around the needle twice.
5. Hold tightly onto the thread about an inch from the stitch.
6. Insert needle into the felt, making sure that it is right next to the original stitch. If it goes back into the same hole that it came up from, the stitch will pull through to the back and need to be redone. Pull thread all the way through until a little knot appears.
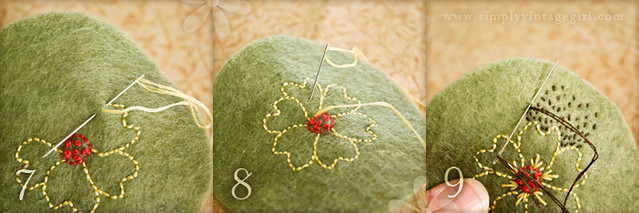
7. Back Stitch the outline of the flower petals.
8. With the straight stitch, add three little lines at the base of each petal to give it depth.
9. The Seed Stitches are small straight stitches randomly sewn every which way. Sew these around the outside of the flower close together and gradually farther apart as you stitch away from the petals.
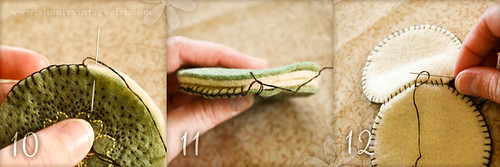
10. Blanket Stitch around the edge of the front and inside two pieces, leaving about one and a half inches of the circumference un-stitched.
11. Place the other two pieces on the back side of the first two with the second inside piece facing the already sewn inside and the back outside piece facing outwards.
Continue the blanket stitch on all four pieces for the un-sewn inch and a half. Then finish sewing the blanket stitch around the edge of the back side two pieces.
12. Run the thread through the felt where it cannot be seen from the inside or outside. Bring the thread to the surface of the outside and double knot.
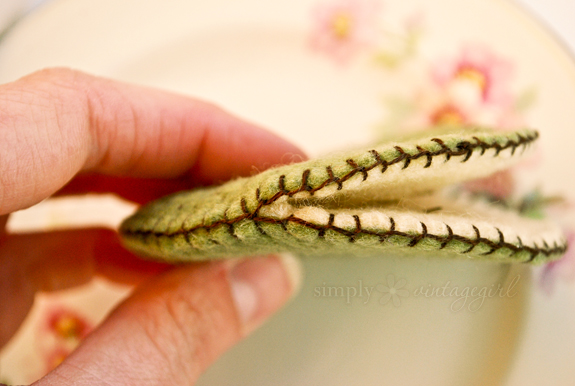
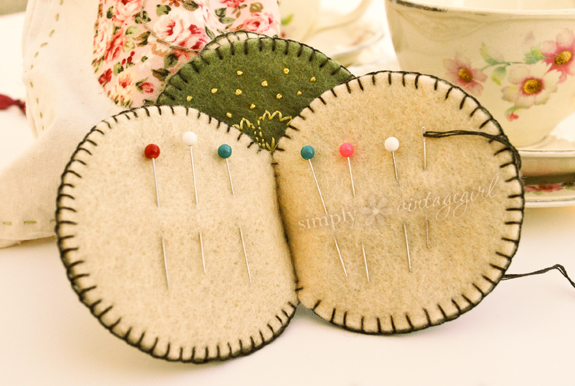
One of the beauties of needlebooks, is that you can take this idea and create a wide assortment of your own variations, whether they be for personal use, decoration, or gifts!
There are endless possibilities to the extra beauty you can create using different styles, sizes, shapes, embroidered decorations, etc!
This tutorial was originally created for the beautiful magazine “The Girlhood Home Companion,” a magazine for daughters, mothers, and grandmothers published by Remembrance Press.